Tower of Gand Advanced Tips — Pro Strategies & Hidden Mechanics
This advanced tips guide is designed for experienced Tower of Gand players who have already survived a few runs and want to push deeper into the tower. Here we break down hidden mechanics, class synergy strategies, optimal panel exploration patterns, and sanity management techniques that separate casual climbers from true tower conquerors.
Mastering the 5×5 Panel Grid — Deduction and Efficient Pathing
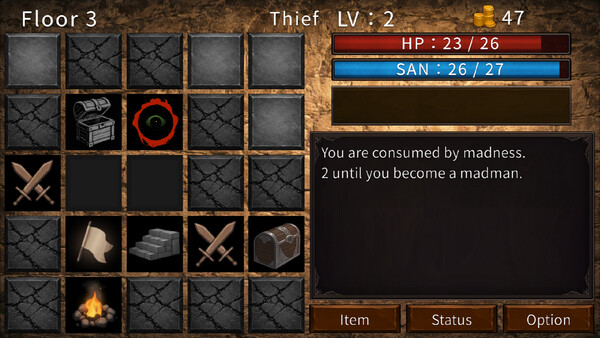
Veteran players know that revealing panels randomly is a death sentence on deeper floors. Every panel you flip carries risk, so developing a systematic deduction strategy is essential. Pay attention to environmental cues and adjacent panel behavior — the game provides subtle hints about what lies on unrevealed tiles. By process of elimination, you can narrow down where the stairs are likely located without exposing yourself to unnecessary encounters or sanity-draining events.
Efficient pathing means revealing the minimum number of panels needed to reach the stairs on each floor. On early floors you can afford to explore broadly for extra gold and items, but on deeper floors every unnecessary reveal is a gamble with diminishing returns. Prioritize locating the stairs quickly, and only detour to revealed treasure or shop panels when your resources are critically low. Remember that enemies and events change every run, so rigid memorization will not help — adaptable deduction will.
Combat Action Optimization — Beyond Basic Attacks
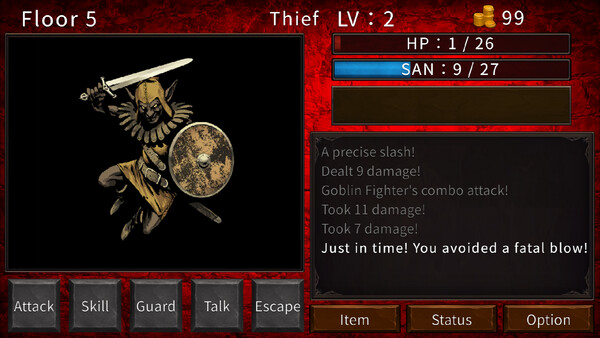
Tower of Gand offers five combat actions — Attack, Skill, Defend, Talk, and Escape — and advanced players need to understand when each one is the optimal choice. Defending is not simply a passive stall; using it at the right moment can turn a losing fight into a manageable one, especially against enemies with predictable burst patterns. Learning enemy tells and timing your Defend action to absorb their heaviest hits preserves HP for the floors ahead.
The Talk action is one of the most underutilized tools in a veteran player's kit. Certain enemies can be reasoned with or distracted through dialogue, potentially ending encounters without any resource expenditure at all. Escape should not be seen as a failure state either — knowing when to cut your losses and flee from an unwinnable fight is a core survival skill, particularly when your sanity is low and every turn spent in combat drains it further. The best players treat every action choice as a cost-benefit calculation against their remaining resources.
Skill usage demands careful rationing across a full run. Burning powerful class skills on early-floor enemies may feel satisfying, but it can leave you defenseless against tougher encounters deeper in the tower. Learn which enemies genuinely require skill usage to defeat safely and which can be handled through basic attacks and well-timed defense. This discipline is what separates players who reach the mid-tower from those who conquer it.
Sanity Management — Walking the Edge of Madness
Sanity constantly drains while inside the tower, and reaching zero means falling into madness and facing inevitable death. Advanced players learn to treat sanity as their true health bar — HP can often be recovered, but sanity is far harder to restore. Every decision should be filtered through the question of how much sanity it will cost. Unnecessary combat, excessive exploration, and poor floor pathing all accelerate your descent into madness.
Experienced climbers plan their sanity budget floor by floor. If a particular floor has already yielded its stairs location, lingering to hunt for extra loot is rarely worth the sanity drain. Conversely, when you find opportunities to restore sanity — whether through specific events, items, or class abilities — seize them aggressively, even if it means sacrificing gold or other resources. On deep runs, a few extra points of sanity can mean the difference between reaching the next safe event and spiraling into an unrecoverable madness state.
Class Synergy and Adaptation — Thriving With Any Random Assignment
Since your class is randomly assigned at the start of each run, top-tier players develop proficiency across the full roster rather than relying on a single favorite. Each class has distinct growth paths and skills, and understanding how to leverage any given class's strengths while mitigating its weaknesses is fundamental to consistent deep runs. Study the skill trees and growth options for every class so you are never caught off-guard by an unfamiliar assignment.
Some classes excel in sustained combat but drain sanity quickly through aggressive skill use, while others have built-in sanity preservation tools but deal less damage. Adapting your overall run strategy to your assigned class is critical — a tanky defensive class can afford to explore more panels and engage in longer fights, whereas a fragile high-damage class should prioritize speed and minimal encounters. The best players adjust their panel exploration patterns, gold spending priorities, and combat approaches based entirely on the class they receive.
Gold Economy and Resource Optimization for Deep Runs
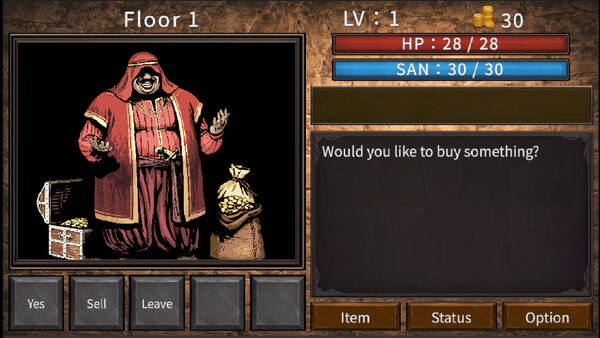
Gold is described as something that can save you or doom you, and nowhere is this truer than on deep tower floors. Hoarding gold without spending it provides no survival benefit, but spending it recklessly early leaves you helpless when shops or critical events appear later. Advanced players develop a spending framework: maintain a reserve for emergency purchases such as healing or sanity restoration, invest in class-appropriate equipment upgrades when available, and avoid vanity purchases that do not directly improve survivability.
Pay close attention to the randomized events that involve gold-based choices. Some events offer seemingly generous rewards but come with hidden costs — a bad judgment call can result in lost items, HP, or sanity that far outweighs whatever gold you gained. Conversely, certain gold-expensive options during events can provide outsized benefits that trivialize upcoming floors. Learning to evaluate these risk-reward scenarios through experience is one of the most important advanced skills in Tower of Gand, and it is the area where veteran knowledge creates the largest advantage over newer players.